

Good afternoon L&G….
From my last post, we saw the steps I followed in order to build two wooden gates for my eastern front houses. In this post, you will read about the gluing procedure and you will see the finished terrain pieces alongside some other terrain pieces I’ve made some time ago.
Part 14.
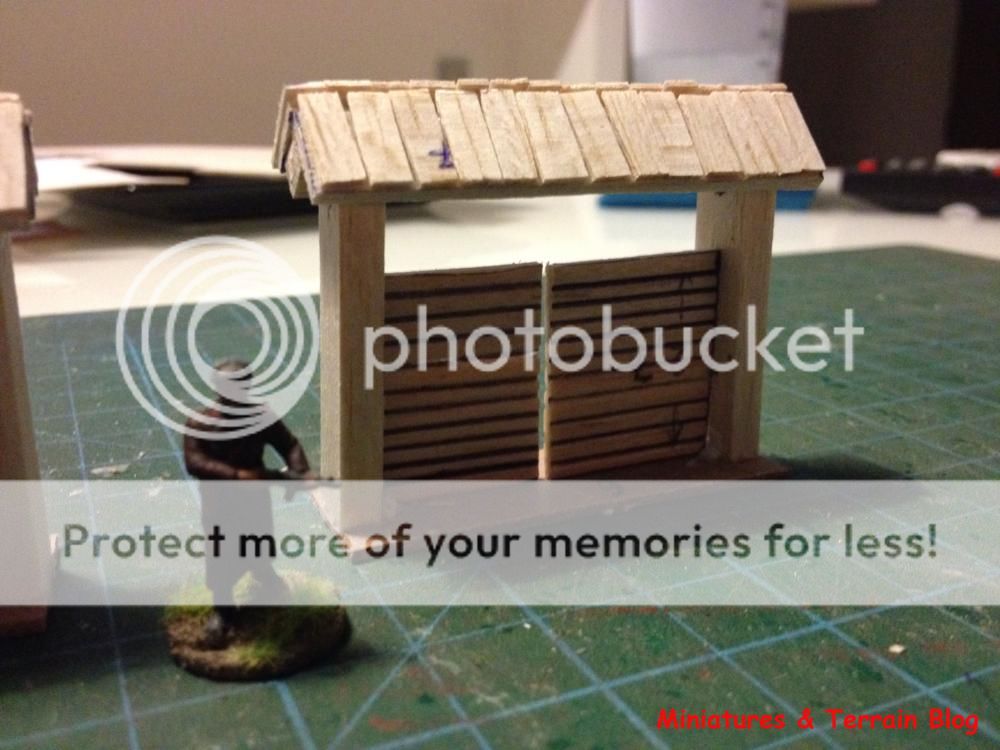
I then glued the thin balsa strips (wooden shingles) on to the four pieces of 0.5 cm. After that I glued two pieces (per gate) on to the 0.5 cm * 0.5 cm balsa strips (Part 3 & 9).

Part 15.
I then glued all the pieces together on to the plastic (vinyl tiles) bases. This is the final result of the building procedure.


Part 16.
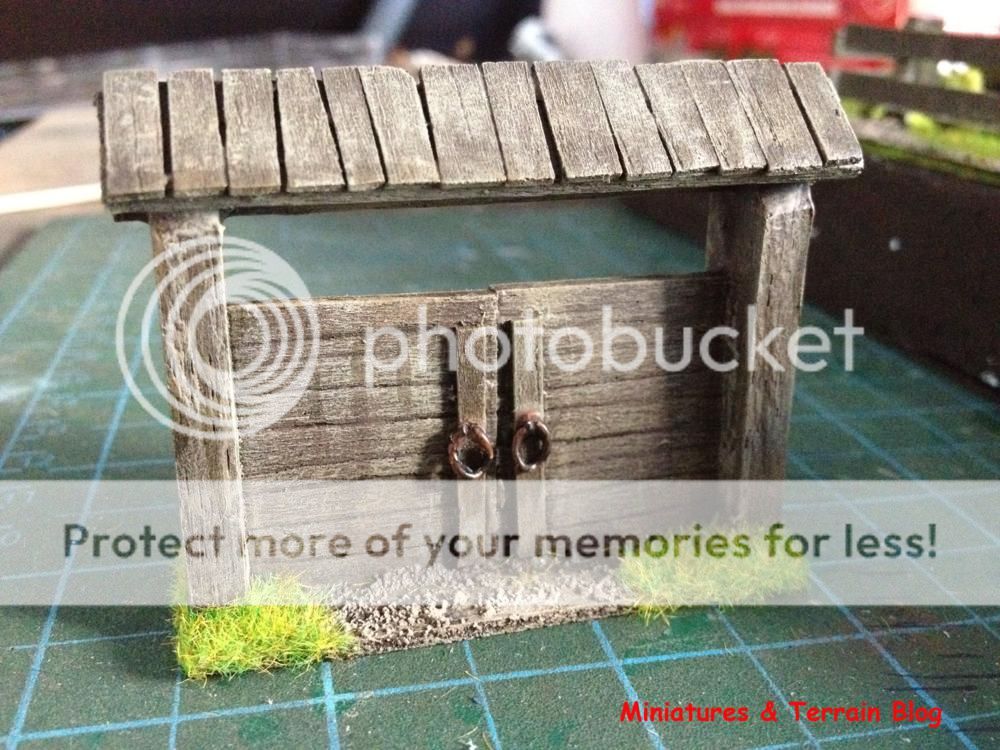
Some wood/PVA glue and some sand applied on the bases and then, I waited for them to dry. That’s about it really.


The painting steps are the following (you can find it here also):
1. Dark brown emulsion paint (base colour).
2. Vallejo's Panzer Aces' 310 Old wood paint (drybrushing them). By this way I highlighted the extreme surfaces of the wood trunks.
3. The last and final step of painting the models (dark brown - old wood), was to use some VMC Green Grey. Again with the drybrush method (but only lighter this time), I gave the final highlight on the wood trunks. I repeat, - light drybrushing.
4. I then painted the bases (Dark brown, Light brown and Tan brown), and, after that I applied some greenery on them.


Part 17.
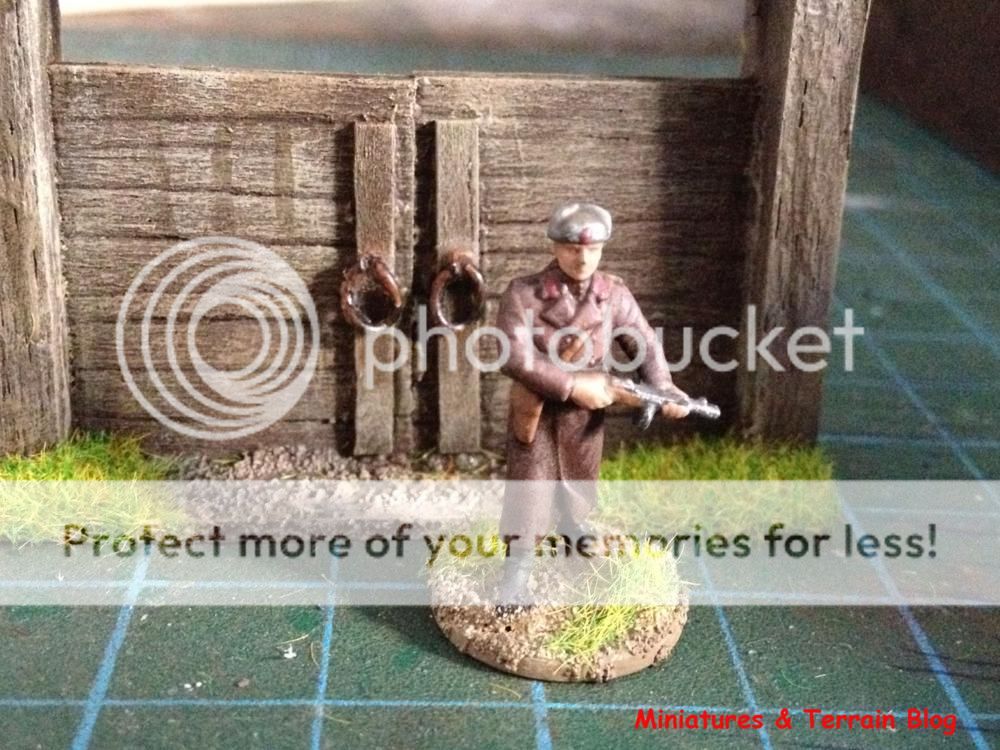
In this last sequence of photos, you will see the finished terrain pieces painted. I reckon they blend well with the other eastern front wooden fences and huts I made some time ago.

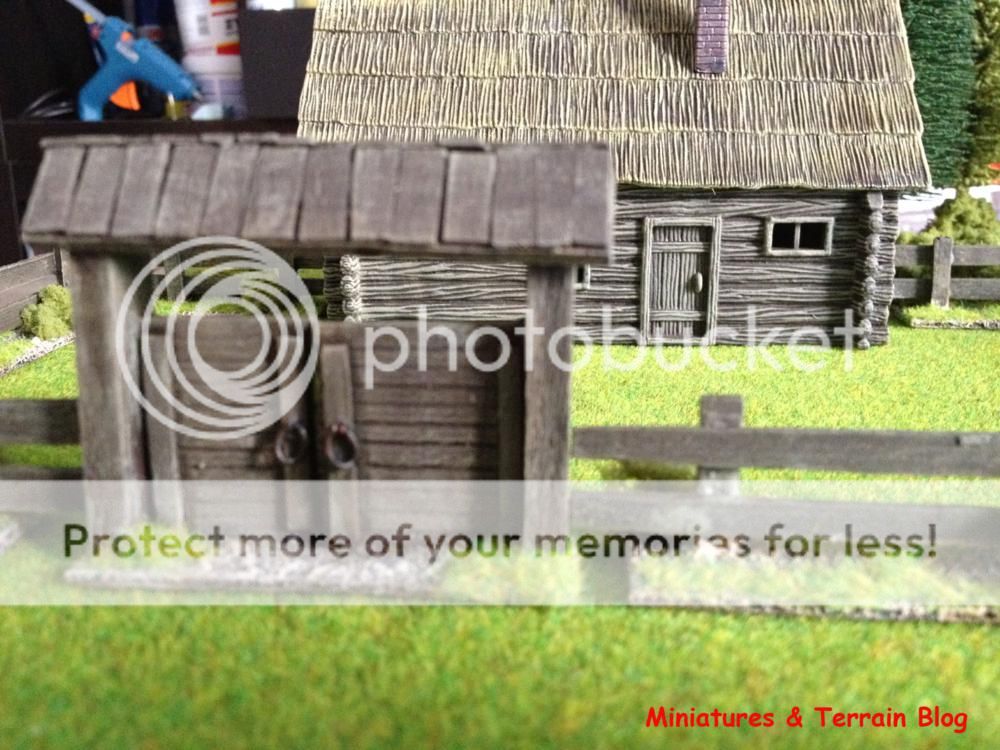


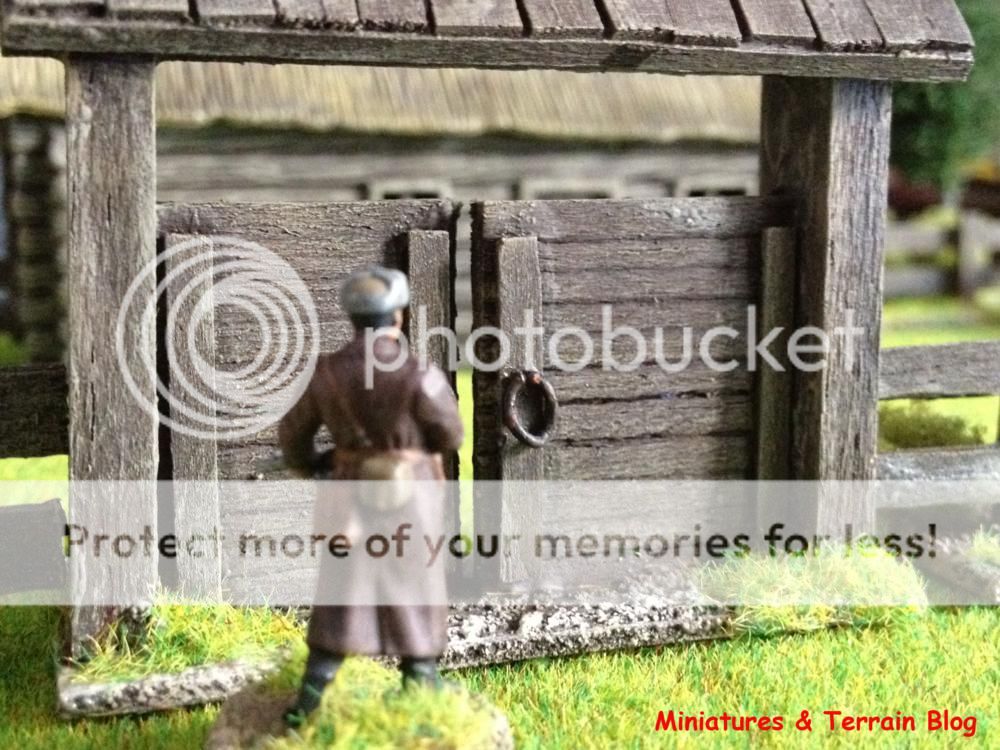


I hope you liked the tutorial and you found it useful. You may use these gates in other fields, such as Normandy or Italy, depending on your taste! :-)
C&C are welcome!
Cheers everyone!
T.


0 Yorumlar